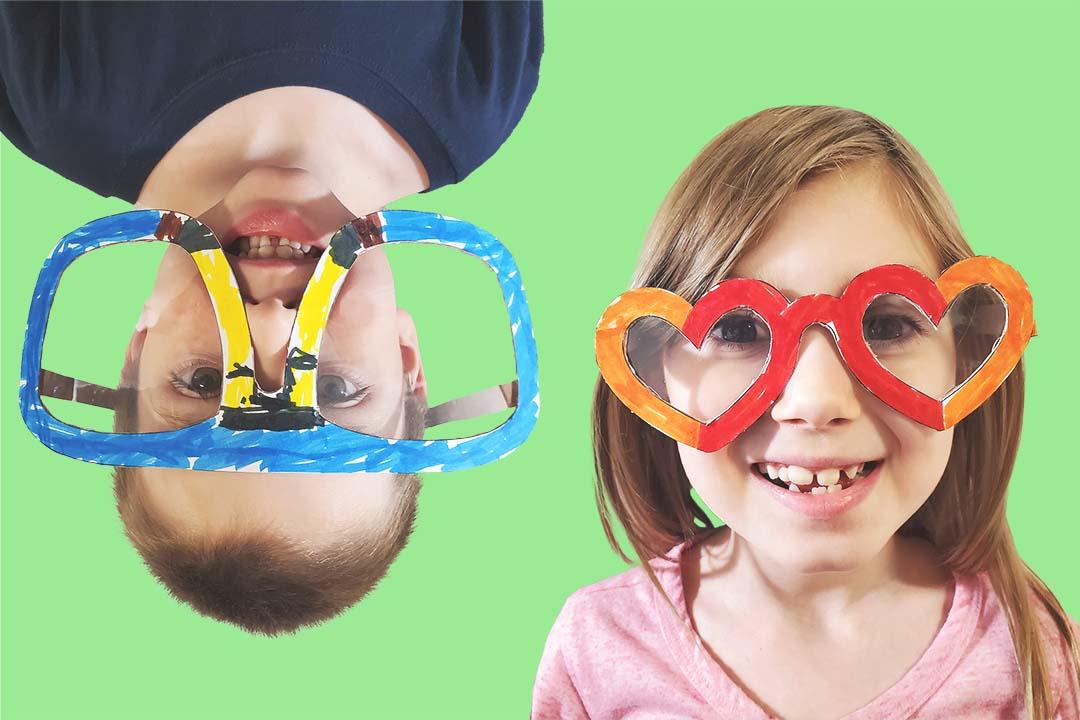
My kids often ask if they can try on my glasses. I let them try them on, and they squint their eyes and laugh at how hard it is to see anything. And of course, they have to run to the mirror to see how they look in them and squeal in delight. But when they kindly return my glasses, the lenses are inevitably covered in chubby little finger smudges.
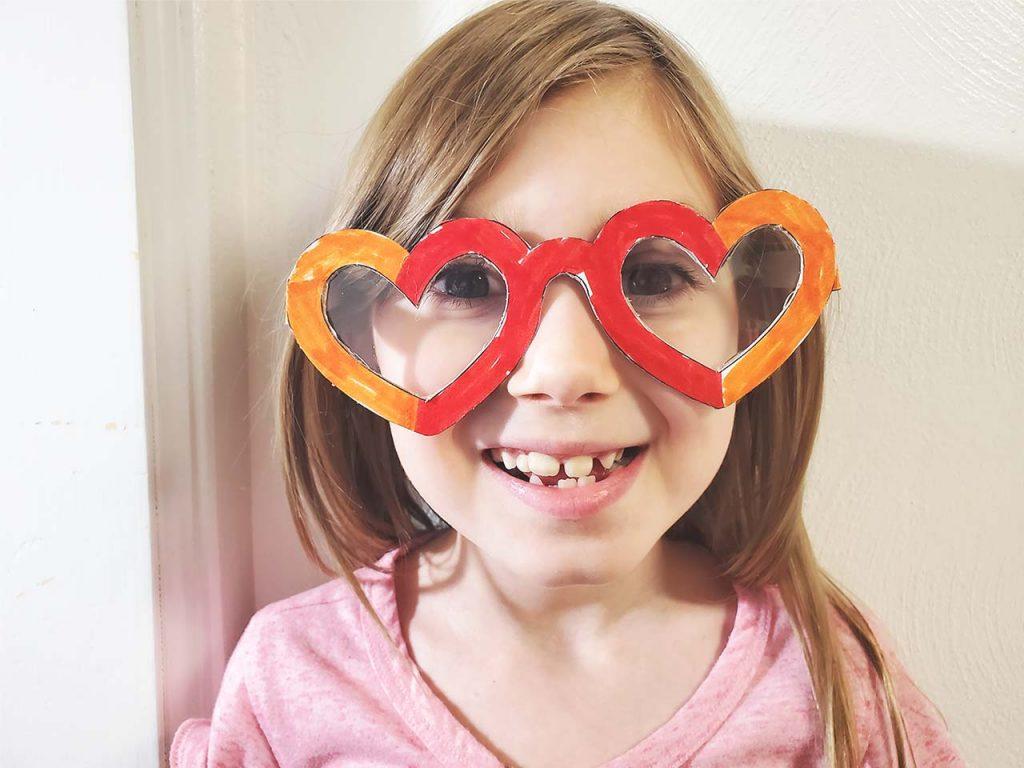
Since my kids enjoy wearing glasses, I thought it would be fun to let them make their own. I created 10 fun glasses templates and wanted to share them with you. Here is a tutorial on how you can make your own glasses frames! I really hope you enjoy this craft. Don’t forget to leave a comment and share this post.
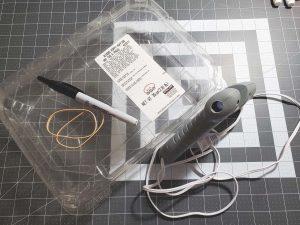
1. Gather your materials
First, gather your materials.
For this craft, you will need:
- Scissors or a hobby knife
- A glasses frame template
- A cardboard box (snack or cereal boxes work great)
- Markers, crayons, or colored pencils
- A glue stick
Optional materials:
- A hot glue gun
- Rubber bands
- Plastic container (like you’d get cookies in from a bakery)
- A permanent marker
- A popsicle stick

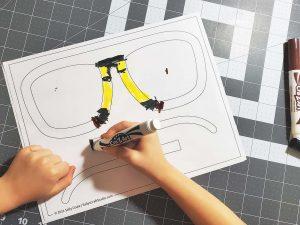
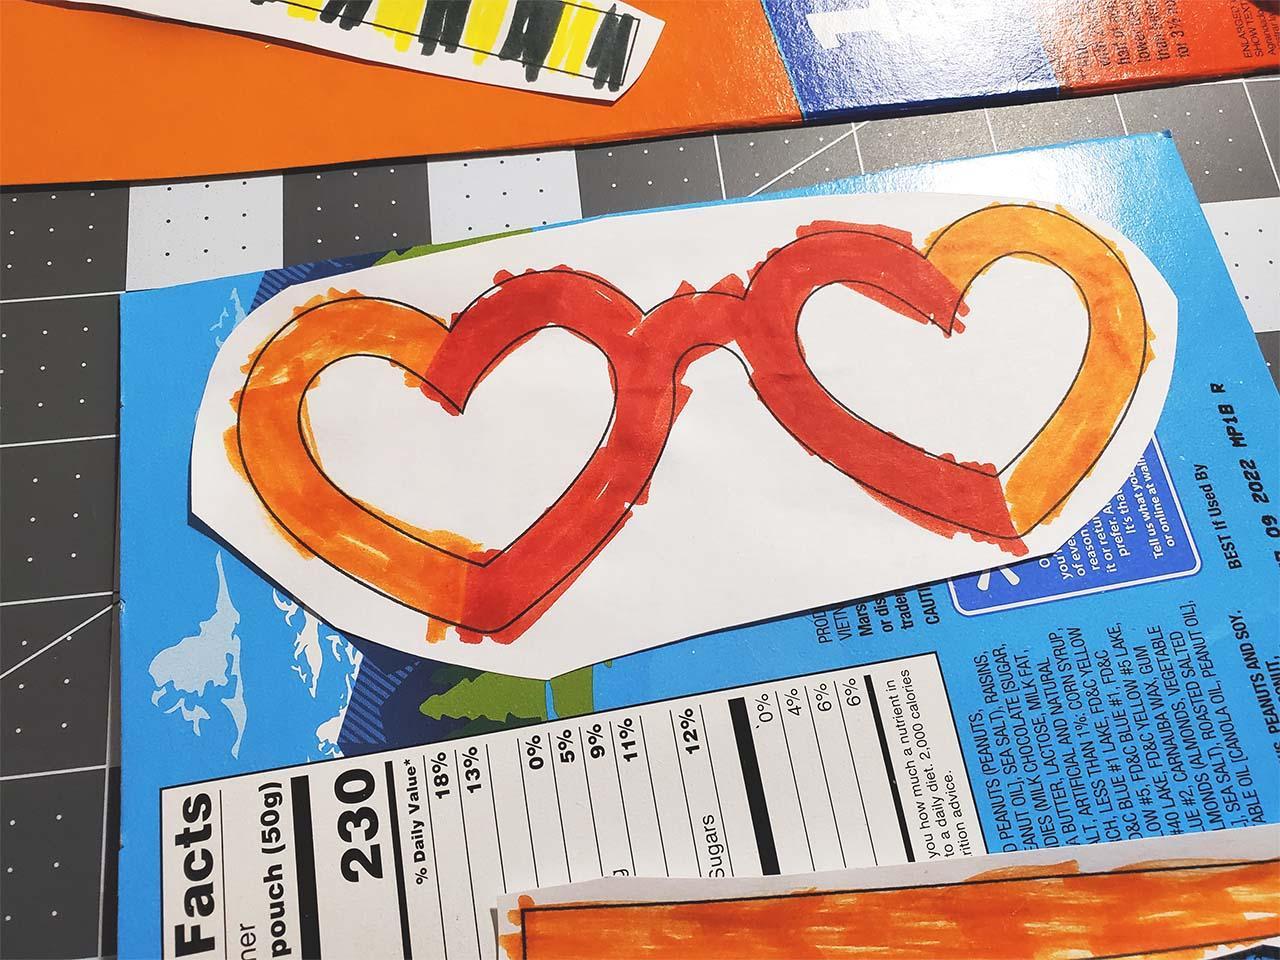
1. Print and color glasses template
Print out the glasses template of your choice and color them with markers, colored pencils or crayons. No need to carefully stay in between the lines because they will be cut out along the lines.

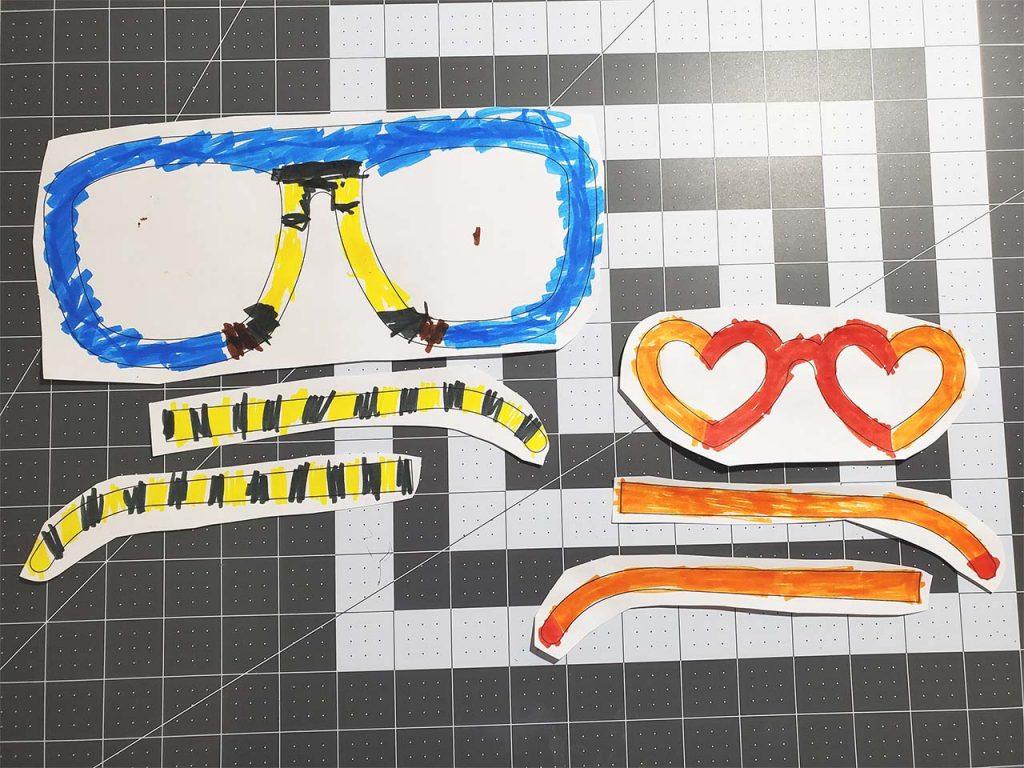
2. Cut out glasses template
Roughly cut the glasses pieces out of the template paper. Do not cut along the lines just yet. Cut around the lines but leave a margin. This is so there is less paper to glue in the next step.
3. Cut the box down
Choose a box to use and cut it down. Lay the glasses template pieces on the outside of the box. Make sure there are no folds on the cardboard where you will be gluing the glasses templates. Arrange the pieces so they all fit without sticking off the edge. You may have to use more than one box if your box is small.

4. Glue the glasses template pieces to the cardboard
Flip over the glasses frame template piece and glue the back. You don’t need to cover the entire piece of paper, but make sure you do cover the whole frame area that will be cut out. Flip the piece back over and place it onto the cardboard and press out any bubbles or wrinkles. Do the same for the ear pieces.

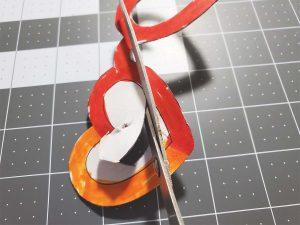
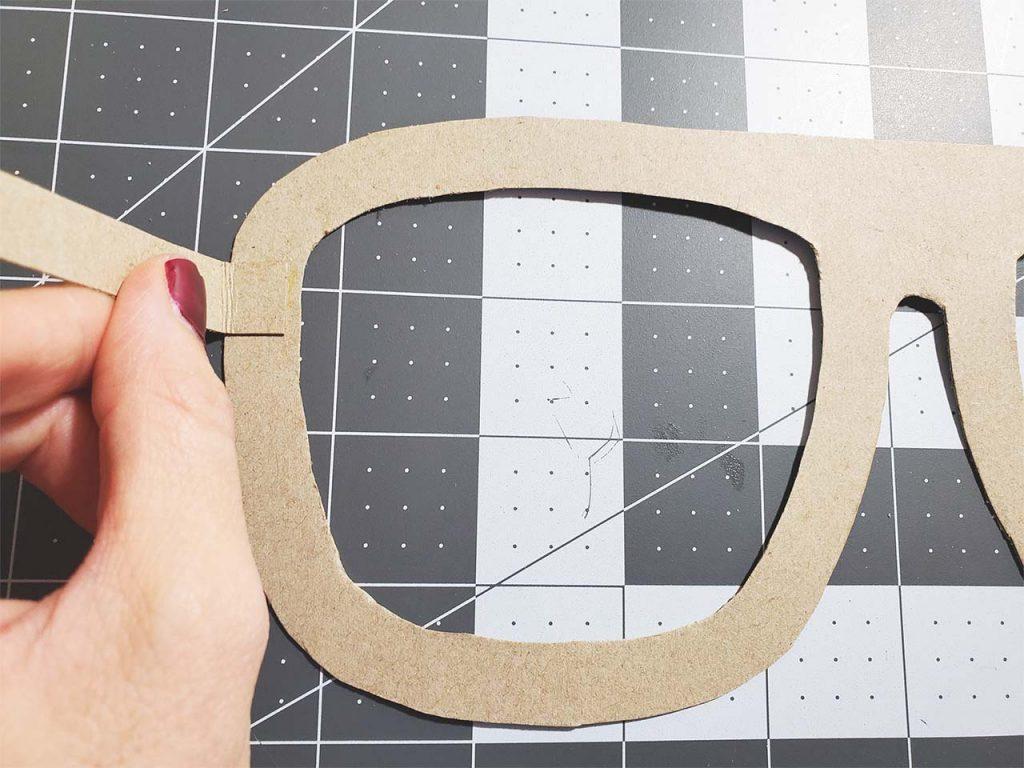
5. Cut out the glasses frame and ear pieces
When the glue is dry, cut out the frame and ear pieces (did you know that they are actually called “temples”?) along the lines. When it comes to cutting out the lens area, a hobby knife works great. But if you don’t have one, a pair of scissors and something sharp will work just as well.
Poke a hole in the center of the lens area just large enough for the tip of the scissors. I just used the tip of my scissors for this. Once you get your scissors through, cut in a spiral – almost a full circle – to the inner edge of the lens frame. Cut along the line until the lens area is removed. Save the lens part for a later step.

6. Measure and trim the temples
Put the glasses frame on the nose of the glasses wearer. Now rest the ear piece (or temple, as we just found out) on the wearer’s ear. Measure the length from the ear to the glasses frame. Fold the end of the temple to create a hinge where it will connect to the frame. Leave 1/4-1/2″ to connect to the frame and trim off the excess.


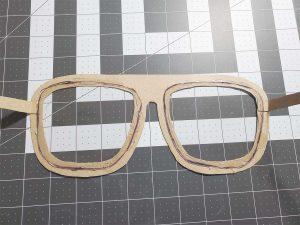
7. Glue the temples to the frame
Use a glue stick or hot glue gun to add glue to the hinge piece of the temples and stick them to the frame. Press and hold them to help them securely dry to the frame piece. Fold and crease the hinge so it will keep the fold.
Now try them on! You can either keep them like this or move on to the next few steps and add plastic for lenses.
8. Trace around the lens shape
Use the lens template you cut out earlier and place it on the plastic container. Trace around it with a permanent marker about 3/8″. Trace a second lens, and cut them out.

9. Glue the lenses on
Lay the glasses front-side down and match the lenses to the frame. Place each lense above the lens frame it will be glued onto. Now apply a small strip of hot glue around the inner edge of the frame. Gently push the lens in place and ensure the glue is sealed around the edges. Do the same with the second lens.

Now you are all done! Try on your glasses!
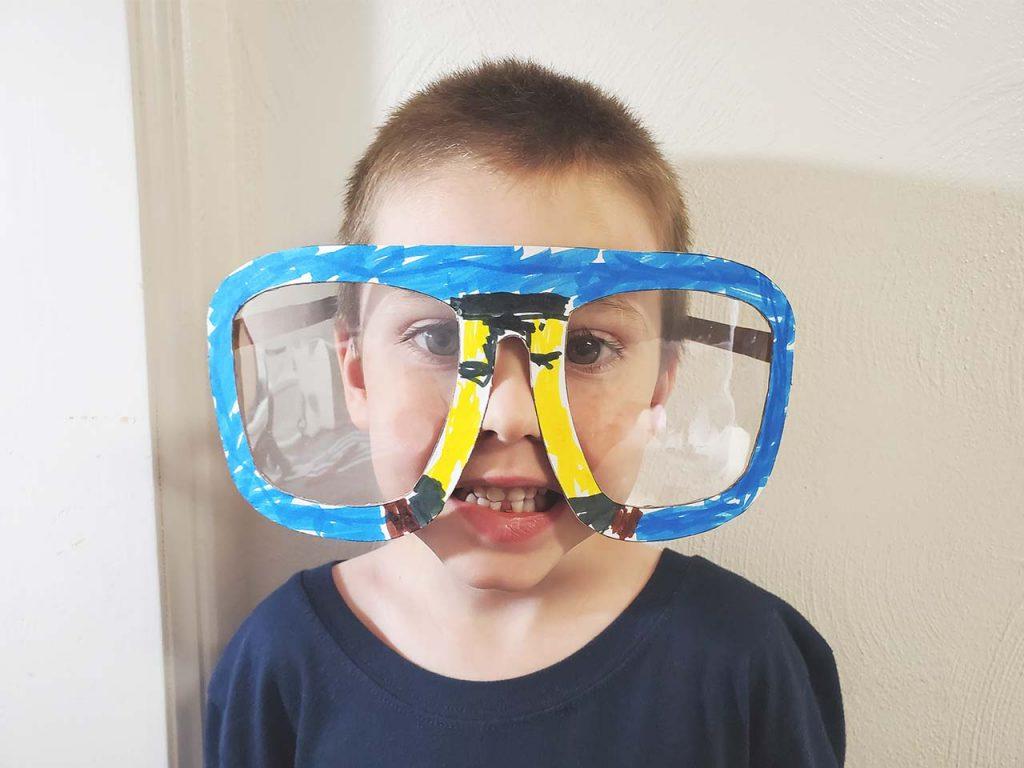
Tips for the extra-large glasses frames
If you have trouble keeping the extra-large glasses on, we found that cutting a rubber band and tying it to the ends of the temples helped them stay on. Another thing that we found helpful was to hot glue a small popsicle stick to the nose bridge to give it some stability.
I really hope you like our craft tutorial and glasses frame templates. Don’t forget to leave us a comment and share. Thanks for stopping by!