My kids and I made these cardboard houses for their little toy people. My son found them to be the perfect size for his army men and wanted me to color his house to look like camouflage. After playing with the house for a few hours, he decided he wanted 10 more houses so there were enough for army bases. I guess that means this cardboard house was a win!
Follow the tutorial below to make your own, then decorate any way you like. Leave a comment below to let us know you made one too!
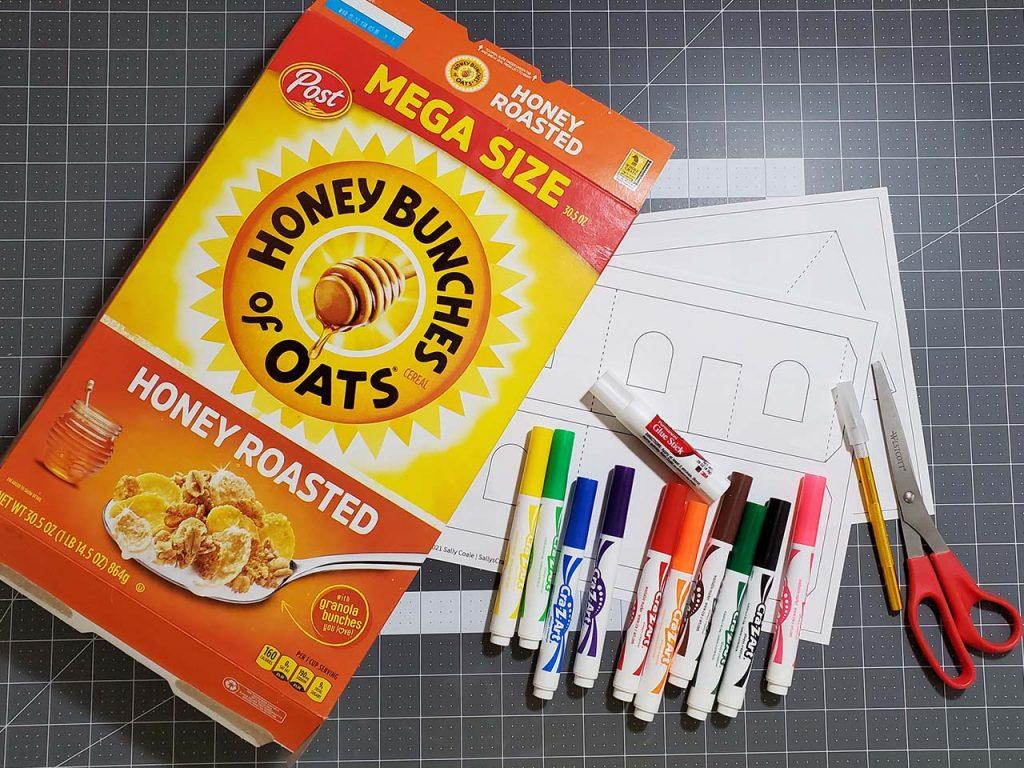
1. Gather your materials
First, gather your materials.
For this craft, you will need:
- Scissors or a hobby knife
- Cardboard house template
- A large cereal box
- A glue stick
- A hot glue gun and glue sticks (not pictured)
- Markers, crayons, or colored pencils to decorate
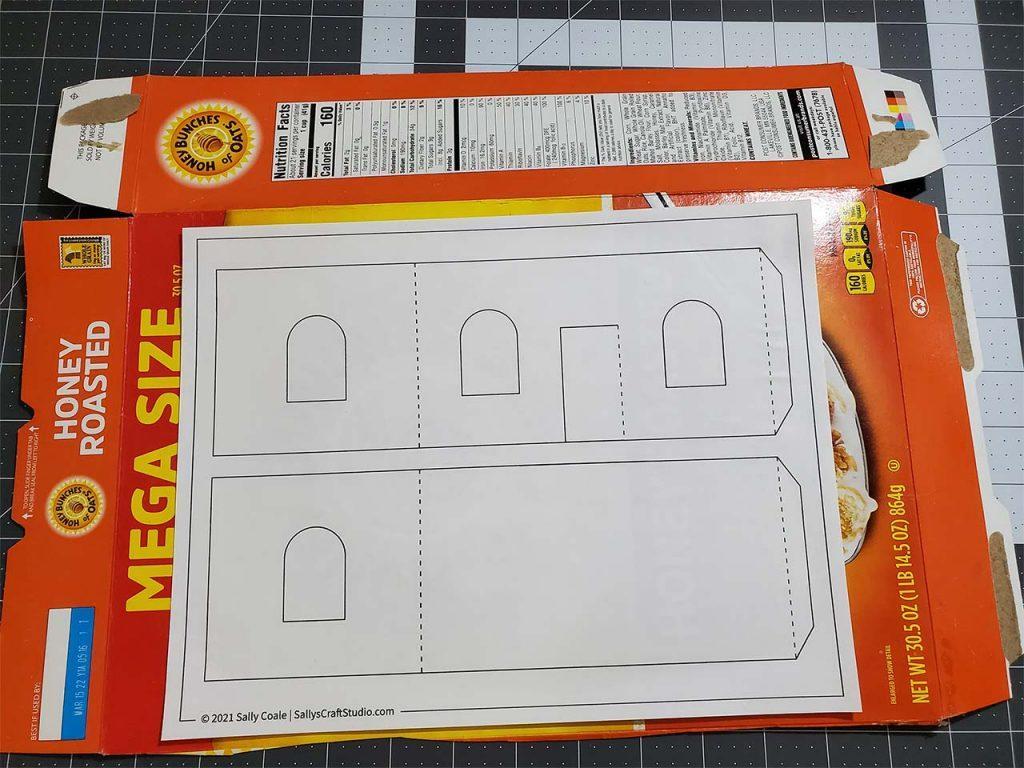
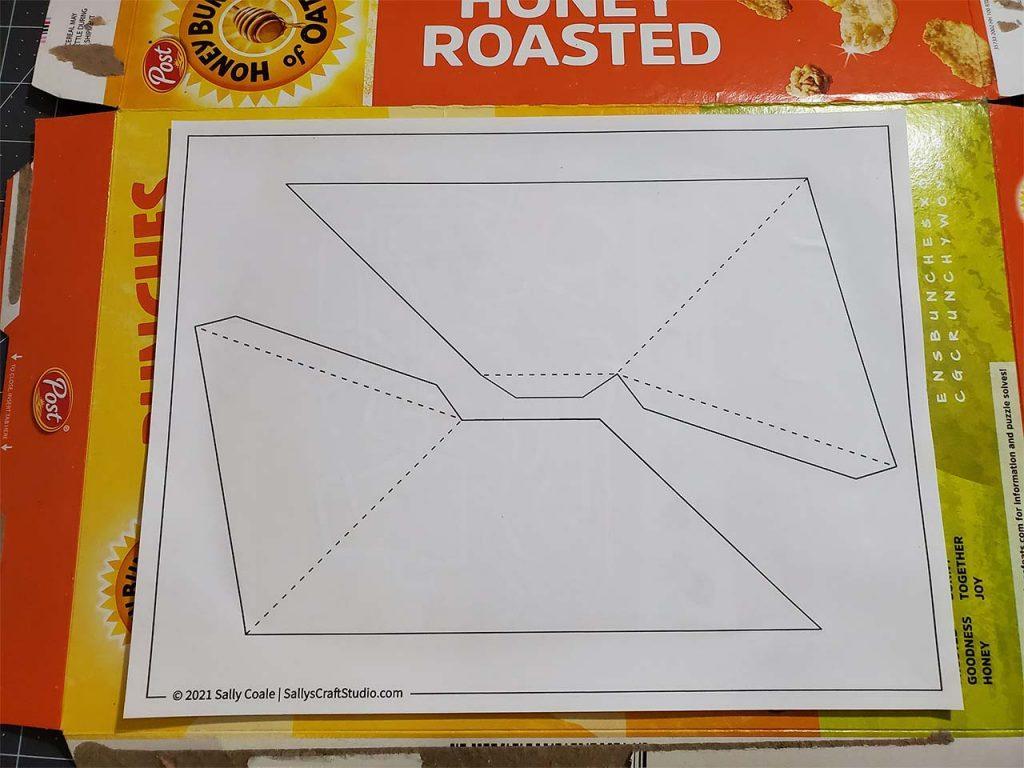
2. Glue the template to the cardboard
A glue stick will work best as liquid glue will make the paper wet and bubbled. The glue stick also dries quickly so you will be able to move on to the next step without much wait.
Cut the cardboard box so you have 2 flat sheets large enough for your template papers. If the flat area is not large enough for the whole sheet of paper, you can cut the template into smaller pieces before gluing. Just don’t cut along the cut lines just yet.
Glue the back of your template sheets. You don’t need to cover the entire paper, but make sure you cover the area inside the template lines. You should be able to see them through the copy paper.
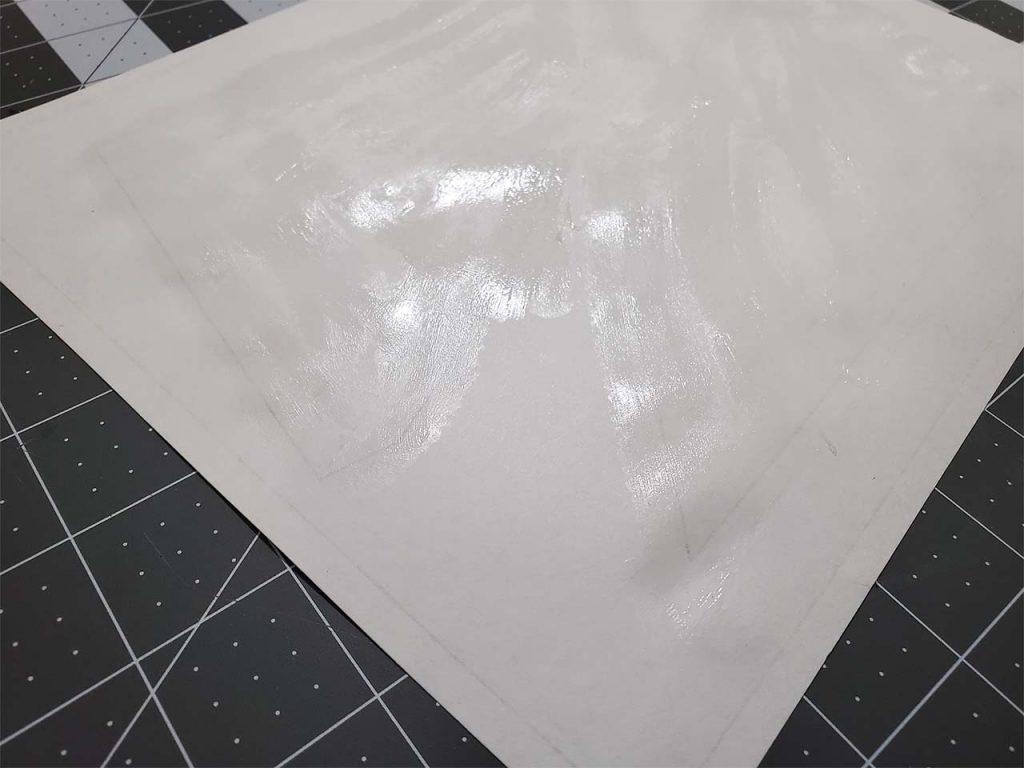
Place each glued template sheet onto the colored side of the cardboard. Lift and reposition if needed, press down and rub out any air bubbles. Let dry.
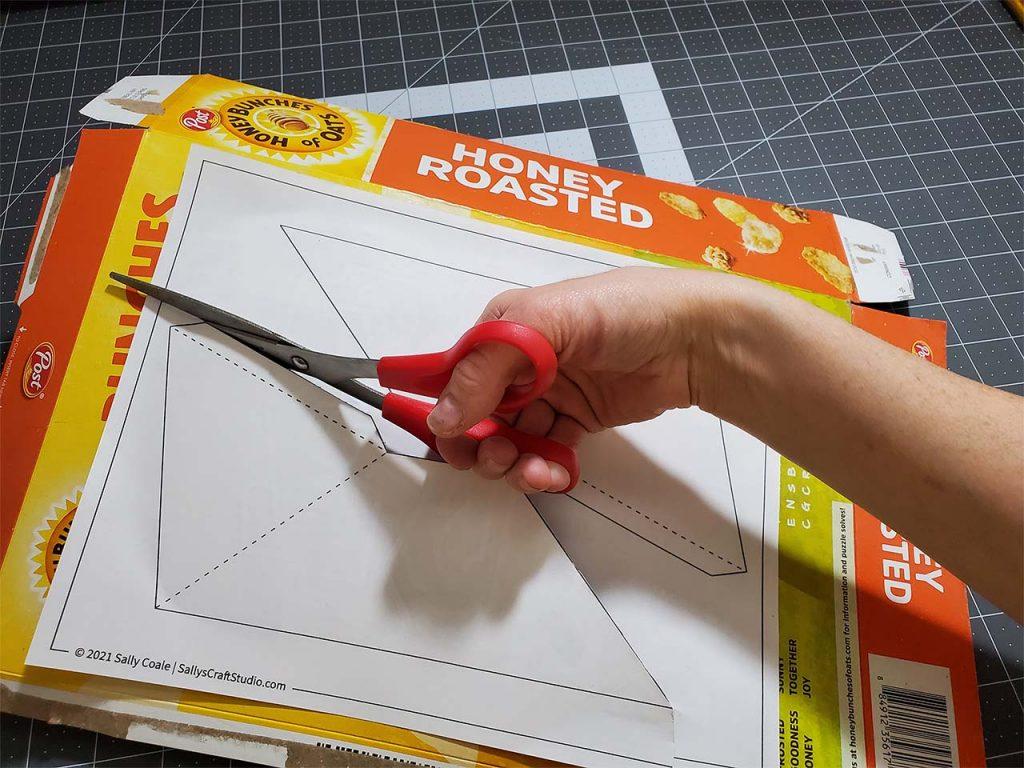
3. Cut out template pieces
Cut out the template pieces along the lines.
I recommend using a sharp pair of scissors with rubber soft grips. I used cheap dollar store scissors for this craft and my thumb hurt after cutting through all that cardboard. I purchased these Fiskars® scissors after many bad experiences with crappy dollar store scissors, and they work wonderfully. No more sore thumb!
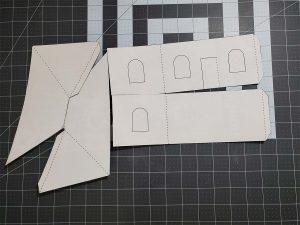
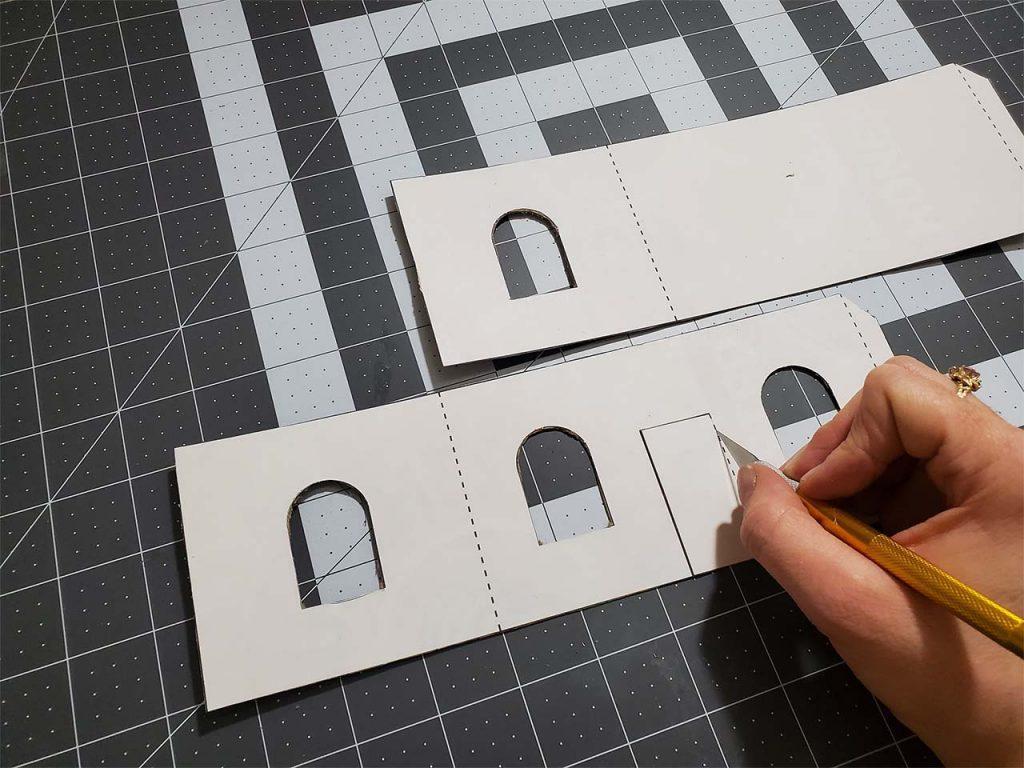
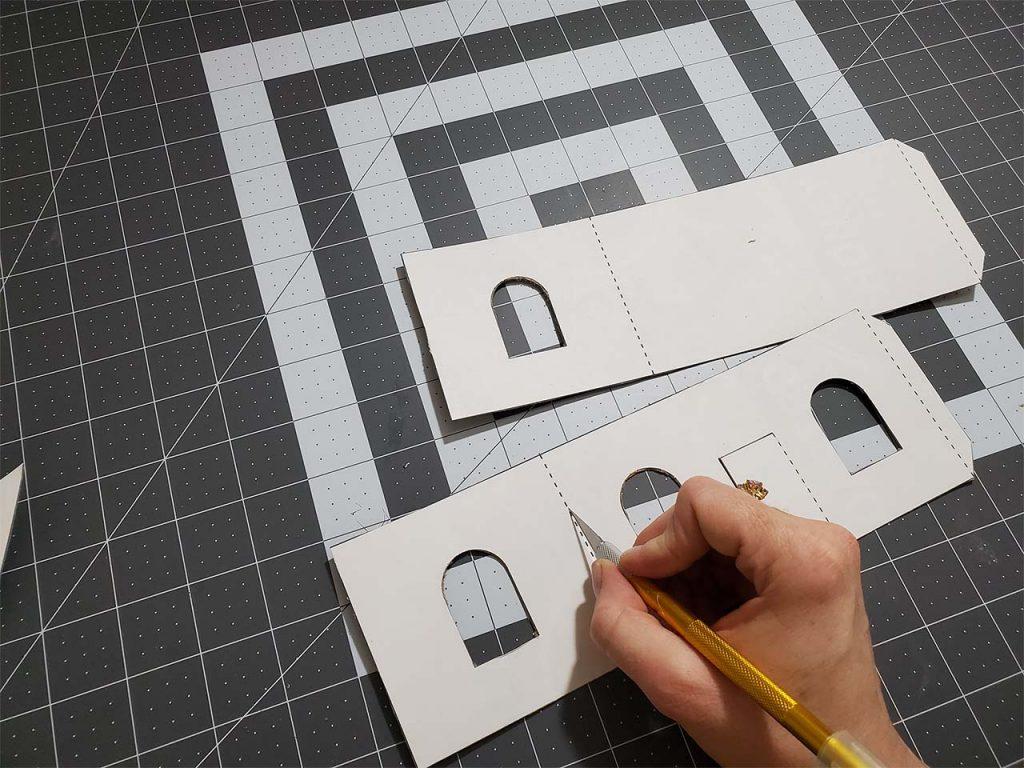
4. Cut out windows
Cut out the windows from the wall pieces. This step should be done by an adult with a craft knife.
If you do not have a craft knife, you could use a pair of scissors, but the edges probably won’t look as good. To cut out with scissors, poke a hole in the center of the window and cut from the hole in a spiral until you reach the edge of the window. Then cut along the line.

5. Cut and fold the door
Cut the solid-line portions of the door, and lightly score the dotted line on the right side of the door. Then bend the door up towards you and then back in the opposite direction.
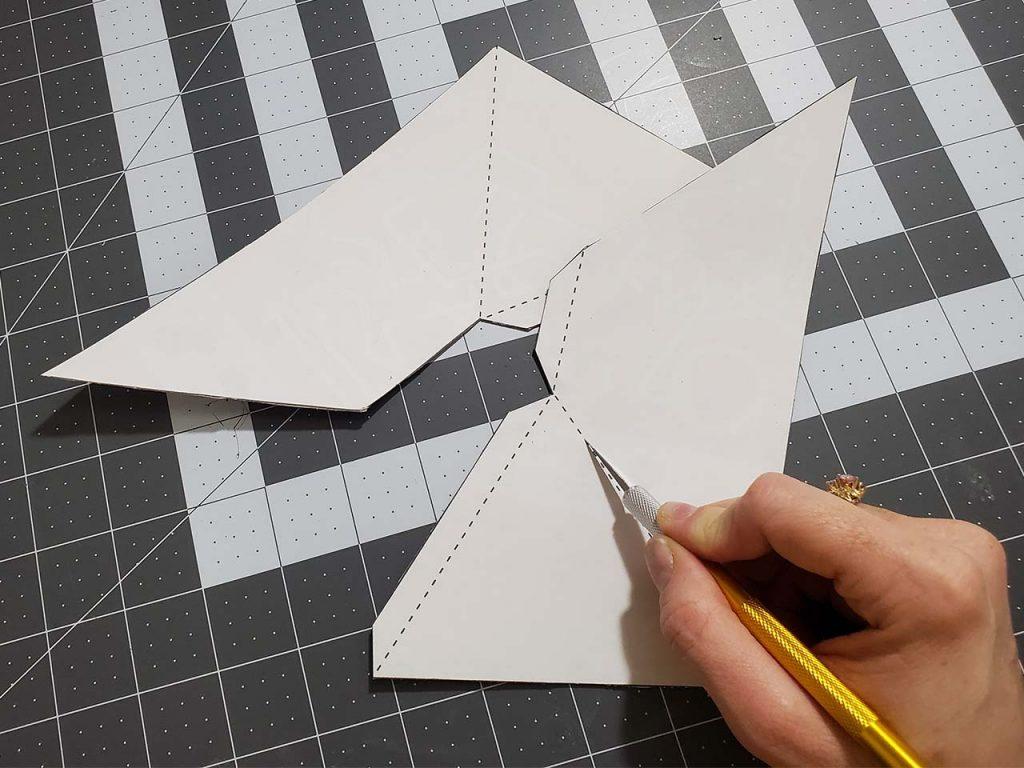
6. Score and fold dotted lines
Lightly score the dotted lines on each wall and roof piece. The cut should make it into the first layer of cardboard but do not cut too deeply or the corners will be too weak to hold their shape well.
Fold the scored edge in both directions to loosen it up a little.
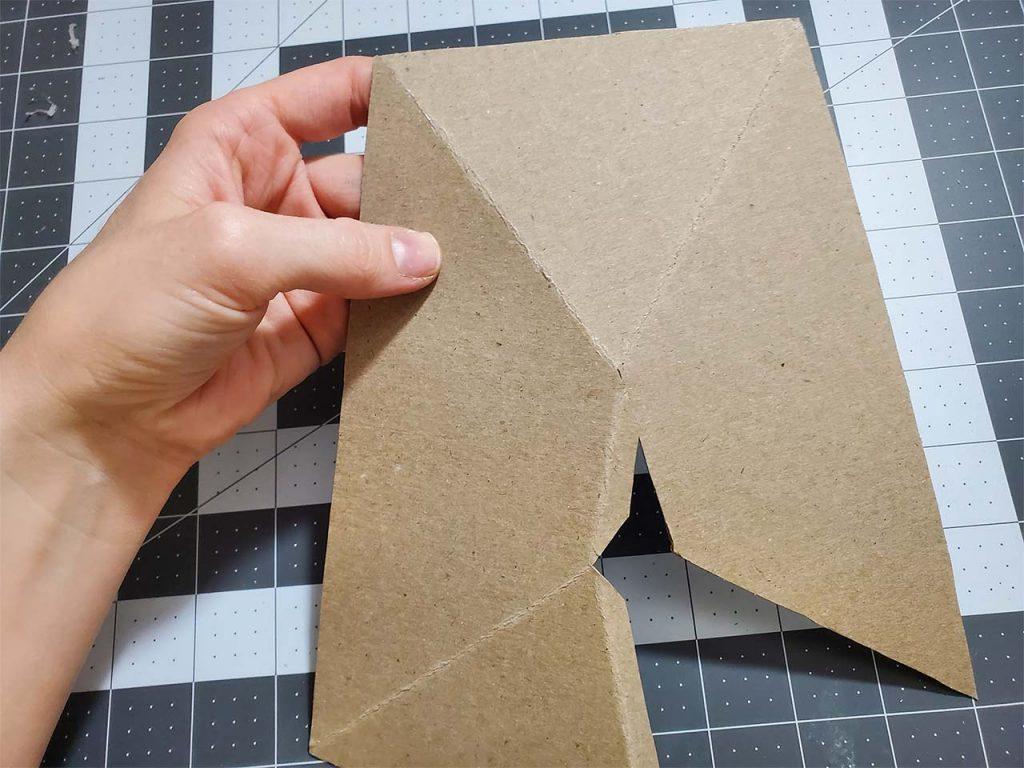
7. Glue the wall pieces together
Hot glue the tab on one side of a wall piece. Press it firmly to the flat side of the other wall piece.
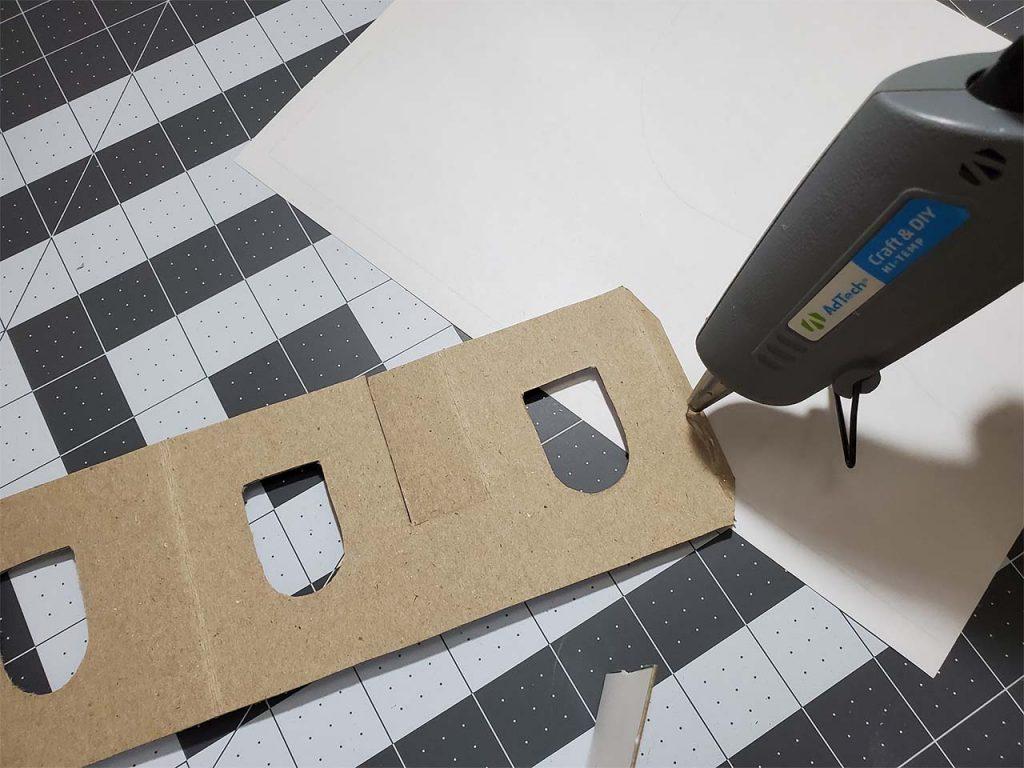
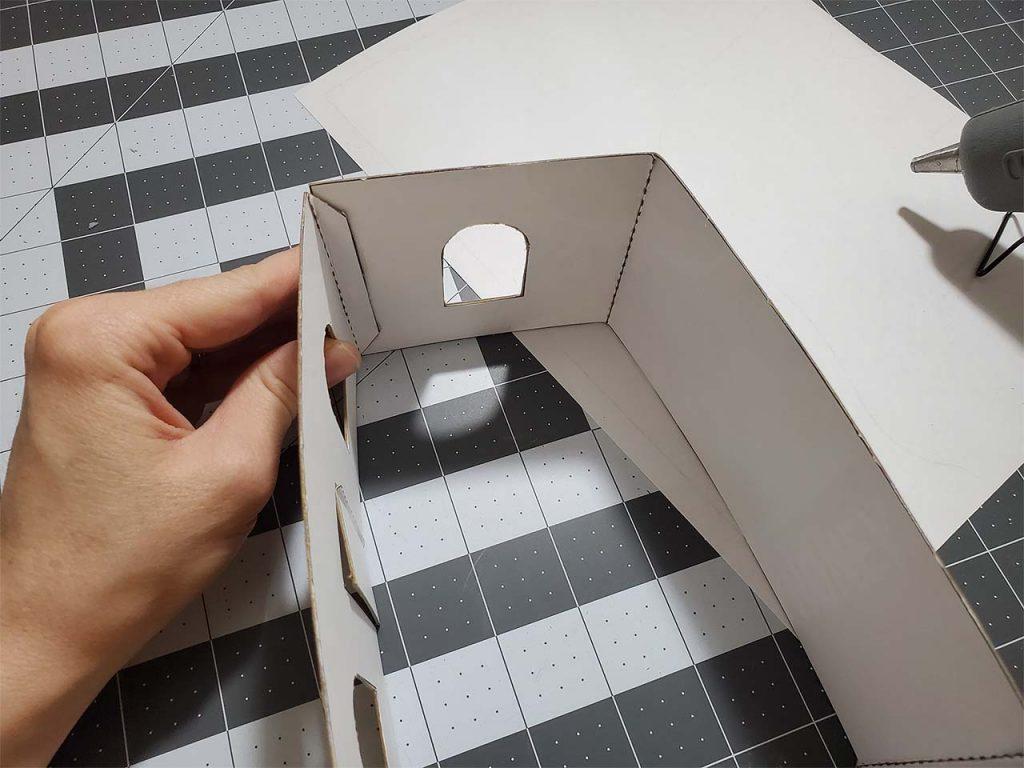
Hot glue the remaining tab to the open edge of the other wall piece.

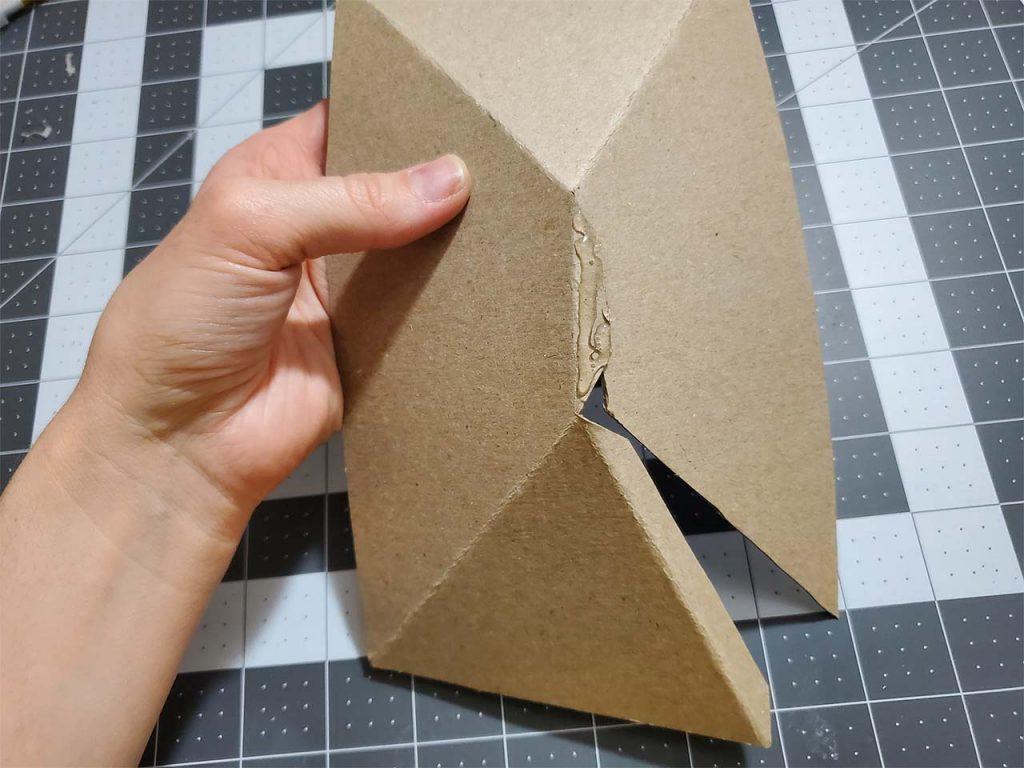
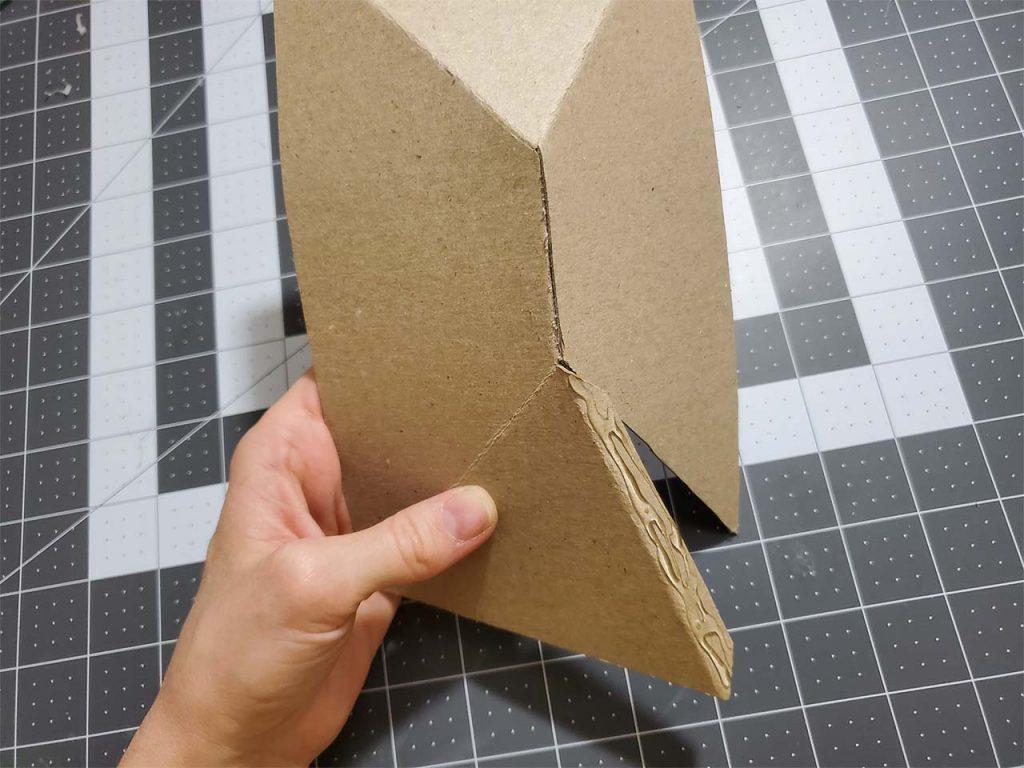
8. Hot glue the roof together
Hot glue along the edge of the roof piece with one tab. Press the glued tab on the tabless part of the other roof piece.

Now, glue along with the center roof tab and press it on the underside of the middle egde of the opposite roof piece. Glue along the last roof tab and press on the underside of the last roof edge.
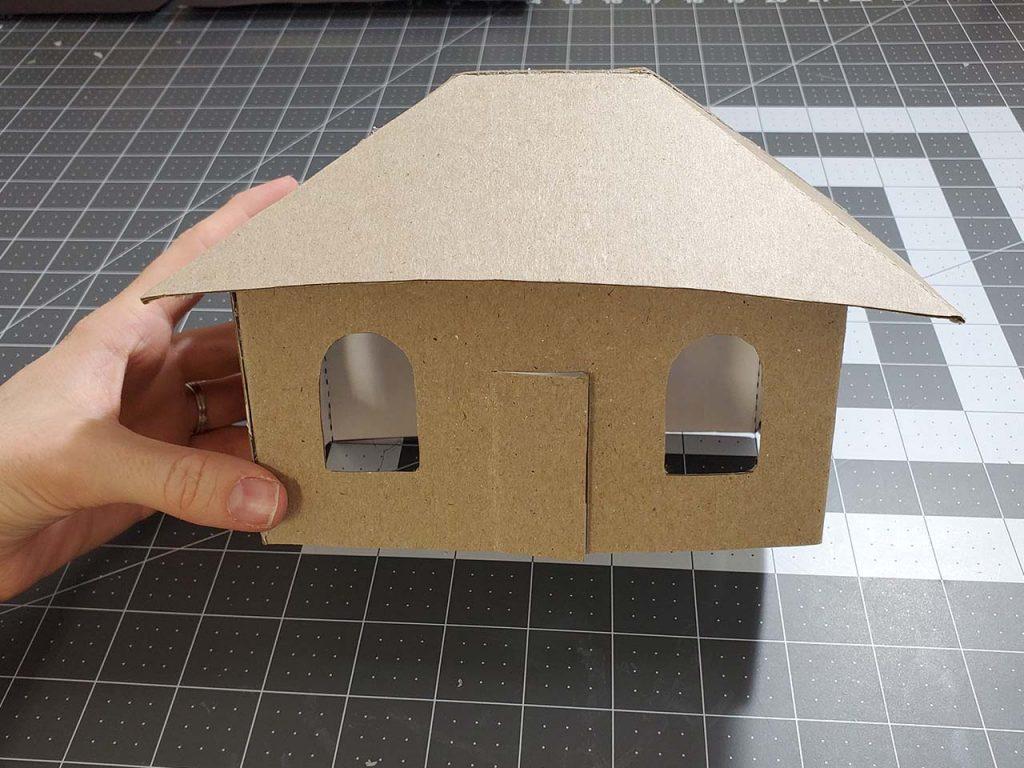
9. Decorate as desired
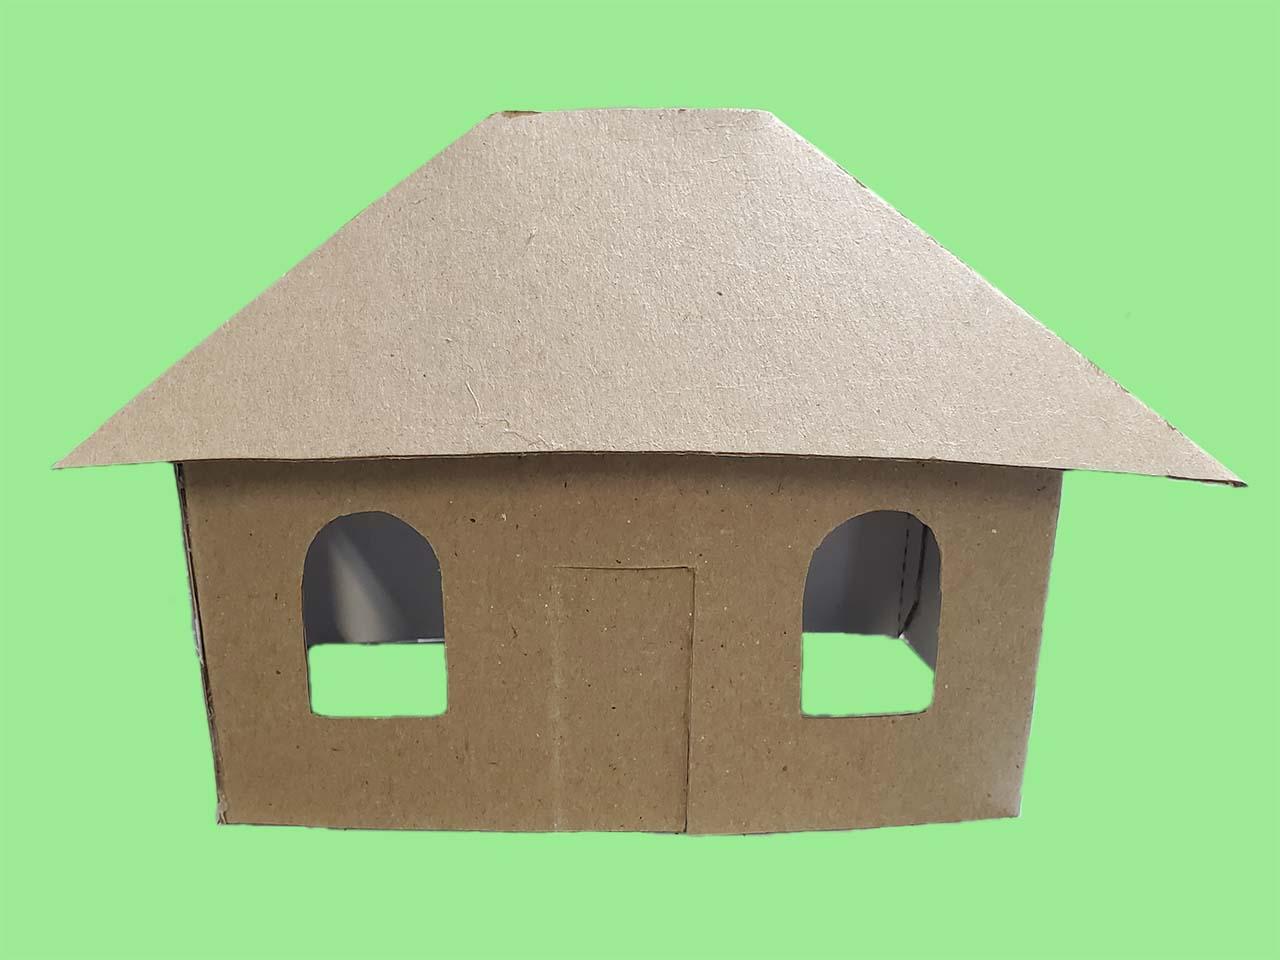
Lay the roof on the top of the house, and your house is complete! The roof is removable so you can easily access the inside for setting up and playing house.
Now just decorate any way you like. Color it, paint it, or cover it with washi tape or stickers!

These little houses are awesome! My son really enjoys them for his 1-2″ tall army men as huts, barracks, etc.
I work at a school for children with learning disabilities. Your template was easy and fun to assemble.
Thank you for sharing the Template.
Thank you for taking the time to leave a comment. So happy you got some use out of my template. <3