
My toddler loves to paint, be he always seems to ruin my paintbrushes with his rough painting techniques. Luckily we found a way to keep him painting without ruining any more brushes.
Today we are going to show you how to paint with q-tips!
Q-tips are great to use with paint. They make such fun dotted shapes, hold a lot of paint in their soft cottony tips, and best of all you can just throw them away when you are finished. So, let’s get crafting!
1. Gather your materials
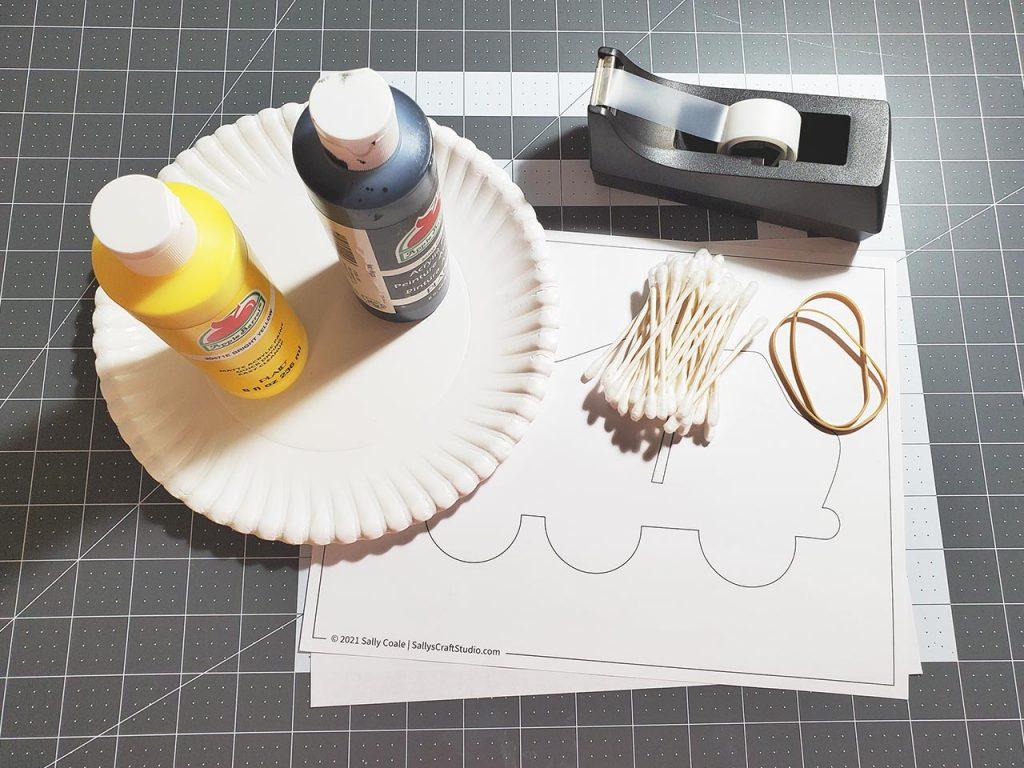
First, gather your materials.
For this craft, you will need:
- Scissors or a hobby knife
- A printable shape template
- Copy paper or card stock
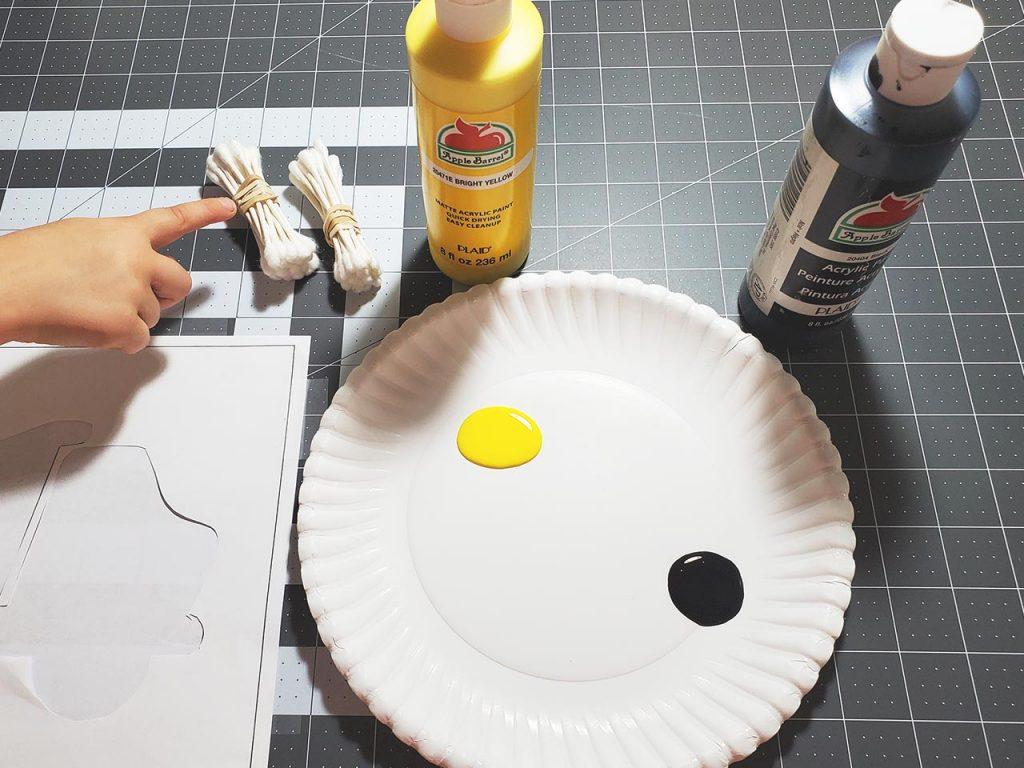
- Craft paint, assorted colors
- Paper plate
- Tape
- Glue stick
- Q-tips
- Rubber bands
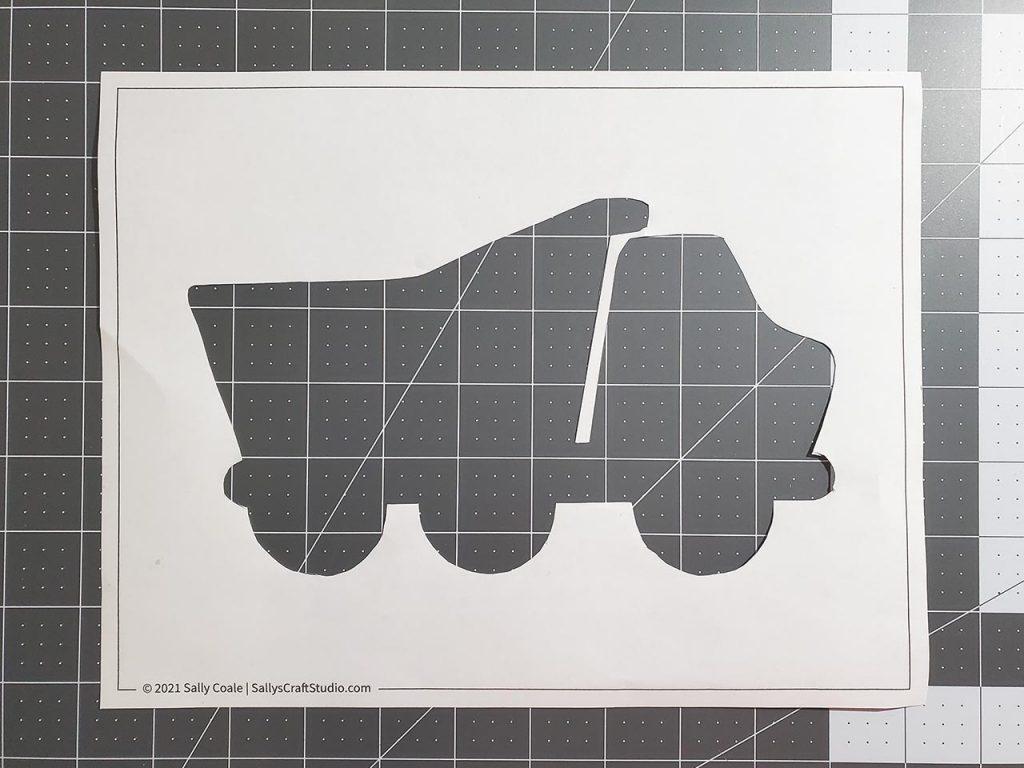
2. Print and cut out your shape template
Print the shape you would like to use for this craft.
Cut out the shape from the center of the paper using either scissors or a hobby knife. Do not cut from the outside edge. The shape should be removed from the center while leaving all sides intact.
Of course, this step will need to be done by an adult, but my kids always like to “supervise” me and give their input on my paper cutting.
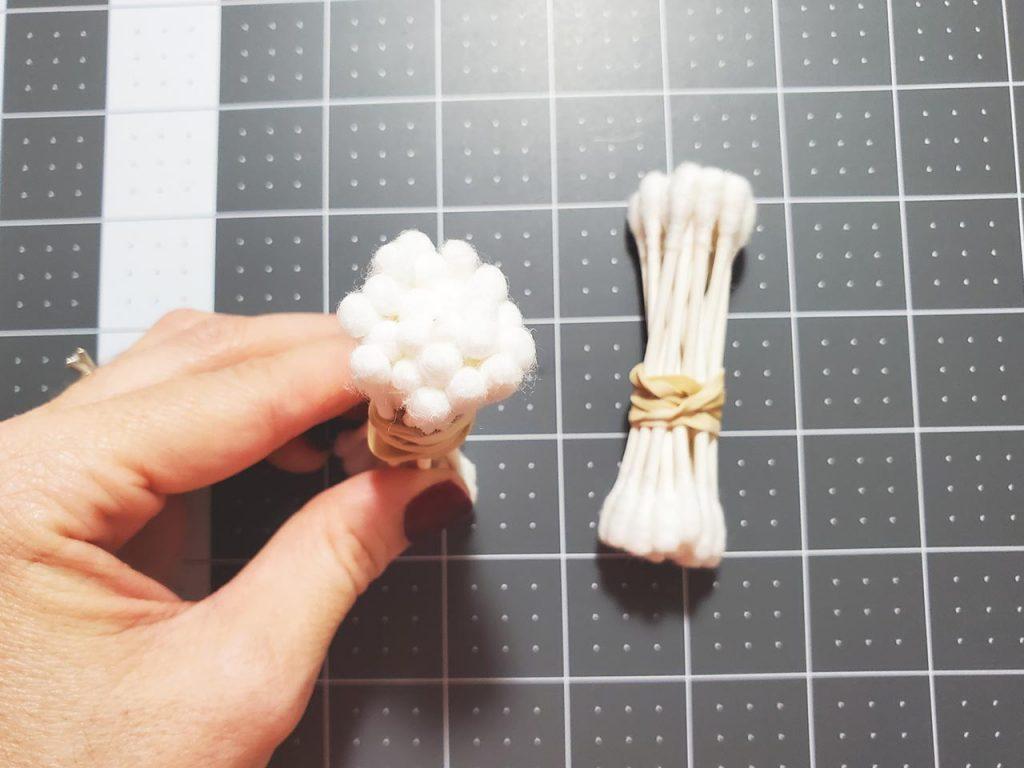
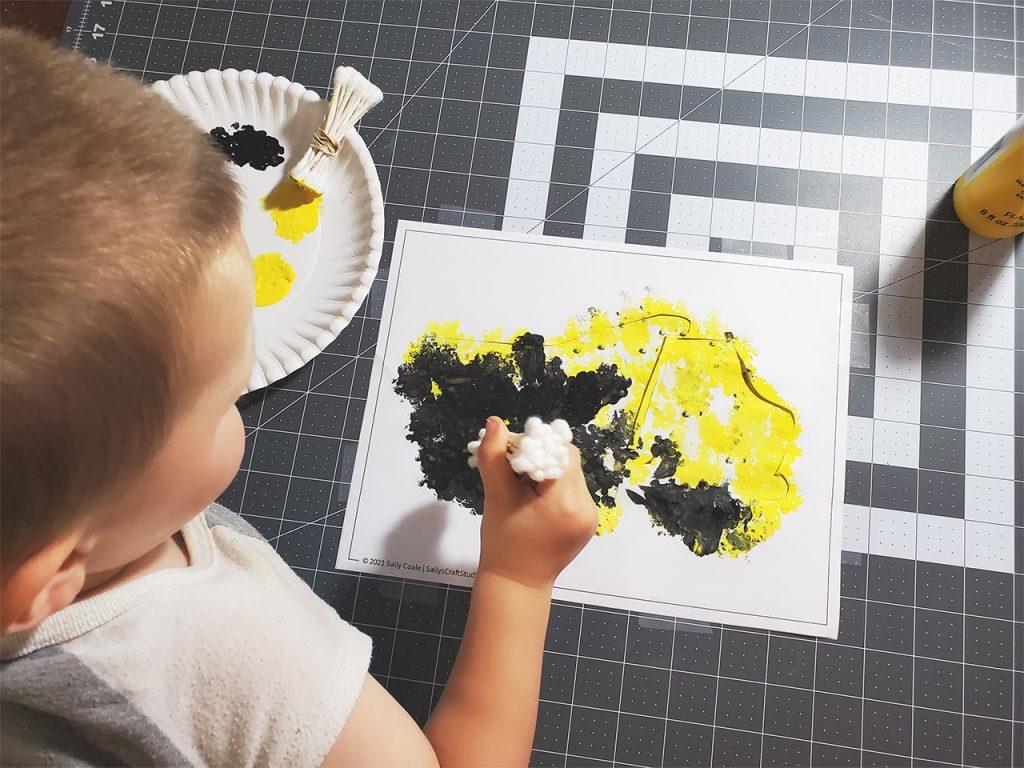
3. Prepare your q-tip “paintbrushes”
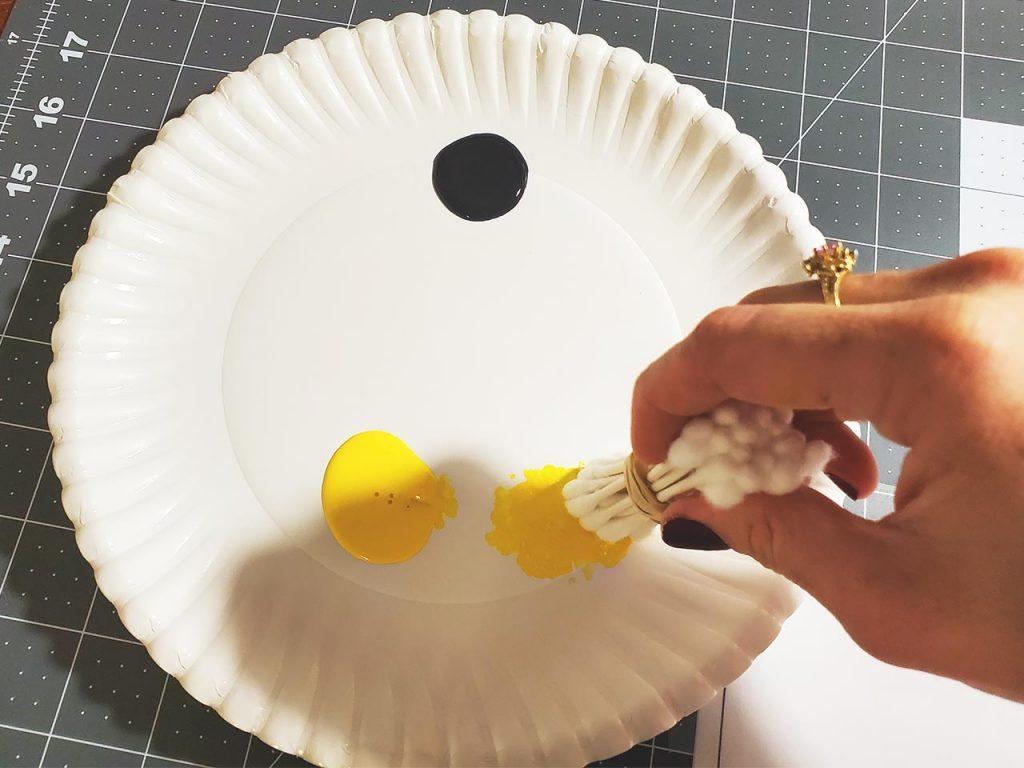
Use a rubber band to hold a handful of q-tips together. Don’t twist them together too tightly or the paint will clump together on the end and make paint splotches instead of dots as you will see shortly.
After a little trial and error, we figured out the best way to get that dotted texture. Push some q-tips in and leaving some out instead of making them all level at the end and loosen the rubber band a little.
4. Prepare your painting area
Toddlers can get pretty messy with paint, so before you get the paint out, prepare the area to prevent paint stains. If you don’t want to get paint on the table lay down some scrap paper or newspaper.
In a carpeted area, it is a good idea to cover the floor with a sheet just in case. I also like to use one of my husband’s old t-shirt as a painting smock so my son doesn’t stain his clothes.
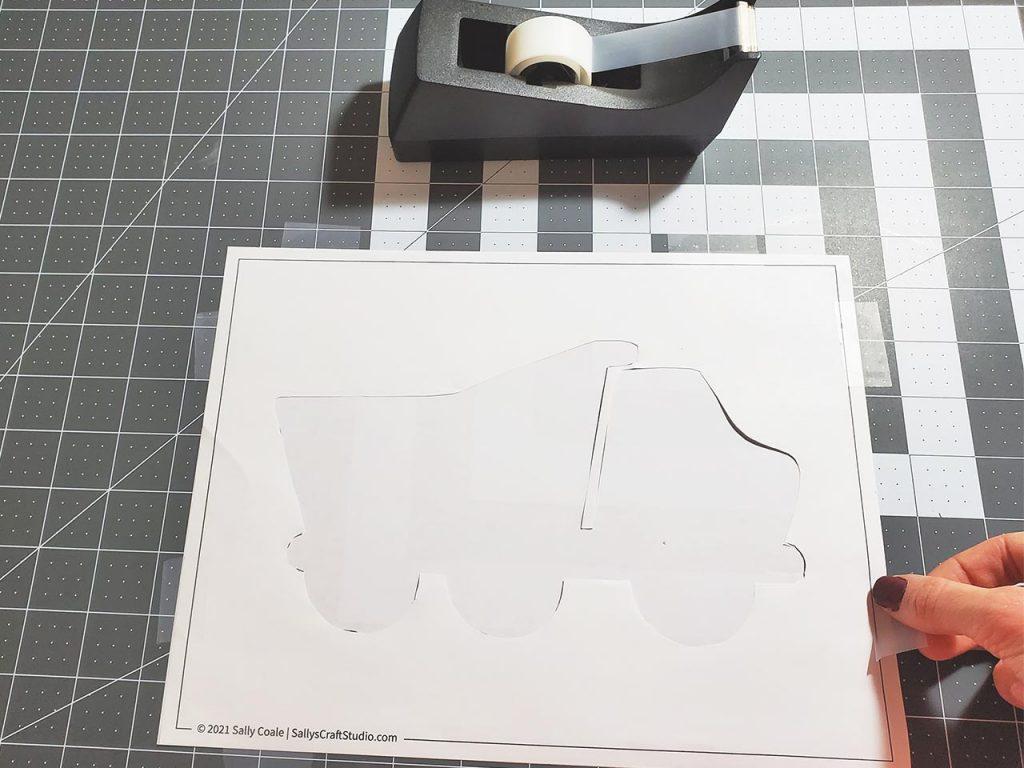
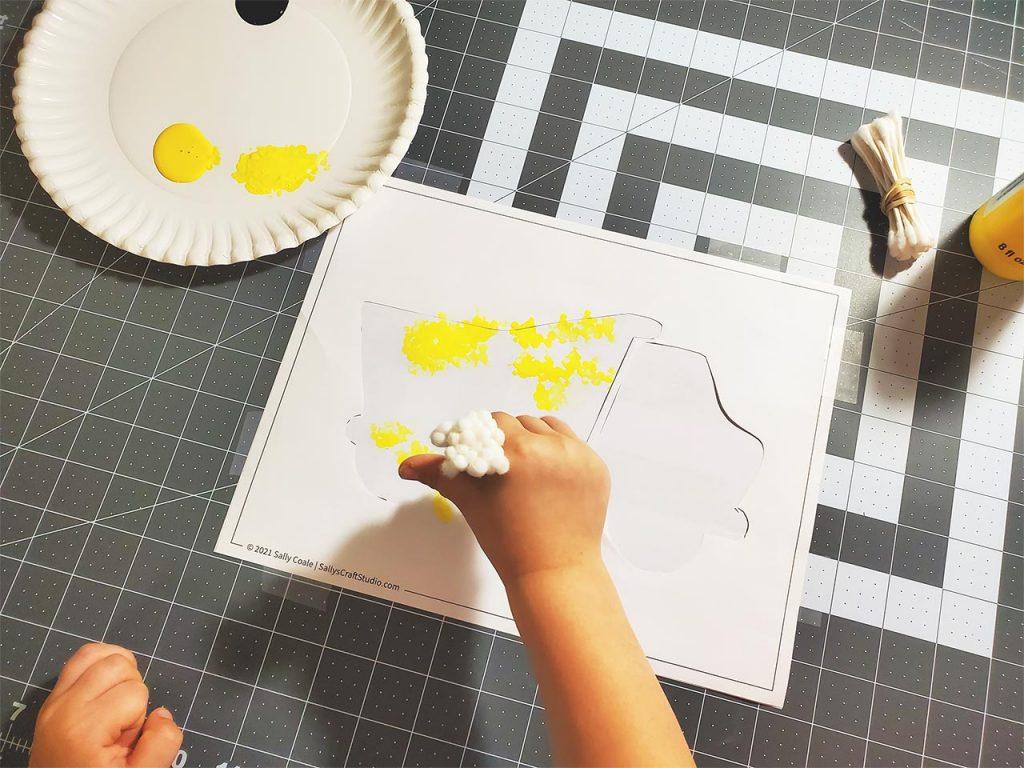
5. Tape down your template
Take the sheet of paper or card stock that you will be painting on and place it on the surface you prepared for painting. Place the template paper over the paper and line up the sides. Tape the template paper to the prepared surface or table on all sides so it won’t move while painting.
6. Choose your paint
Now comes the fun part! One of my kids’ favorite parts of painting is always choosing what colors to use. This is where their personal creativity is in the project. Squirt their chosen paints onto a paper plate. Now dab the q-tip “brush” into the paint.
7. Fill up your paper with paint dots
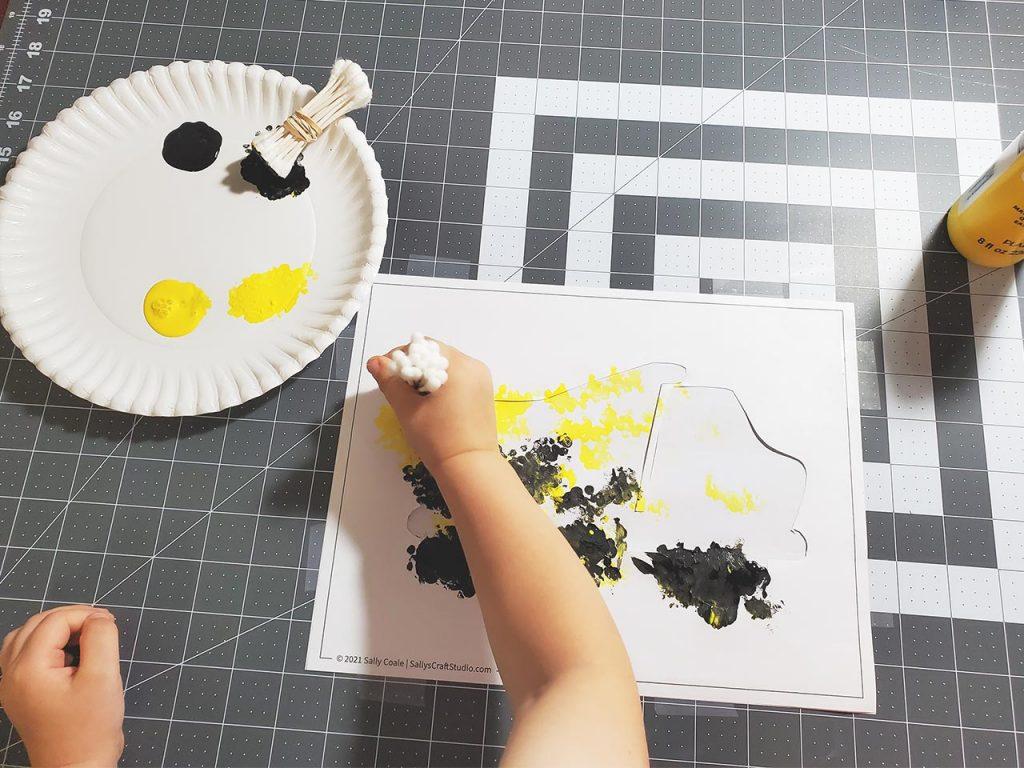
Toddlers usually try to smear the q-tip “brush” around like a regular paintbrush, but once you show them how to dot it on the paper, they quickly get the hang of it. Switch between colors with different sides of the q-tip “brush” or a new one. Cover the whole template area, and focus on the edges around the shape to make the shape clear and recognizable when the template is removed.
8. Remove the template
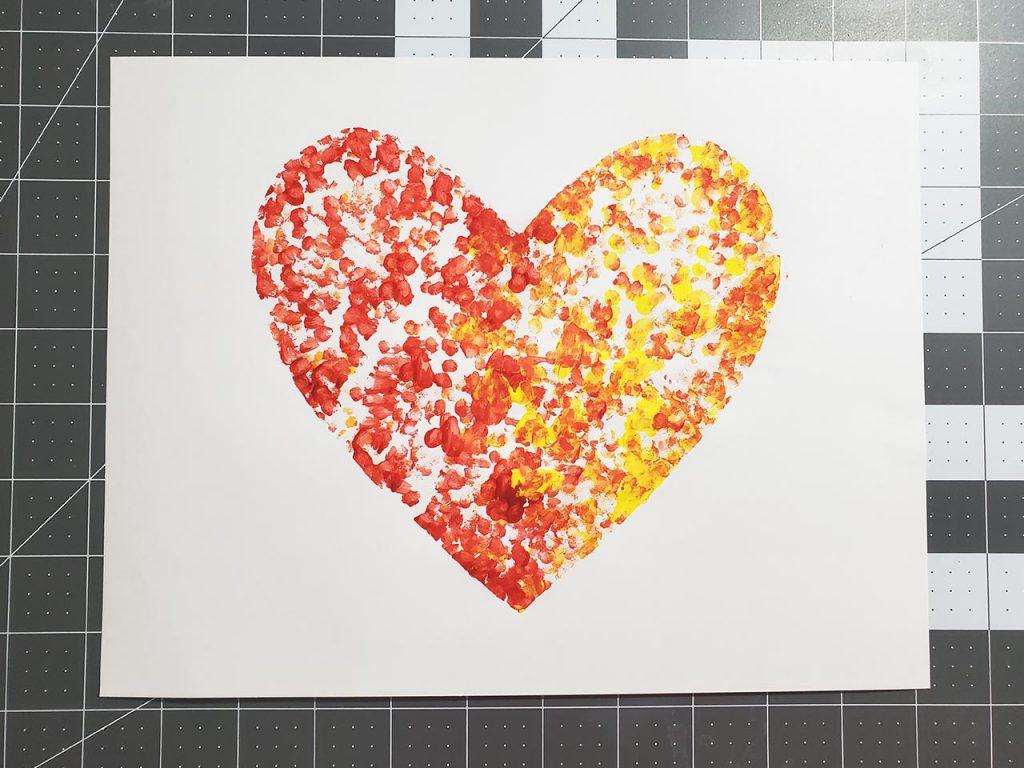
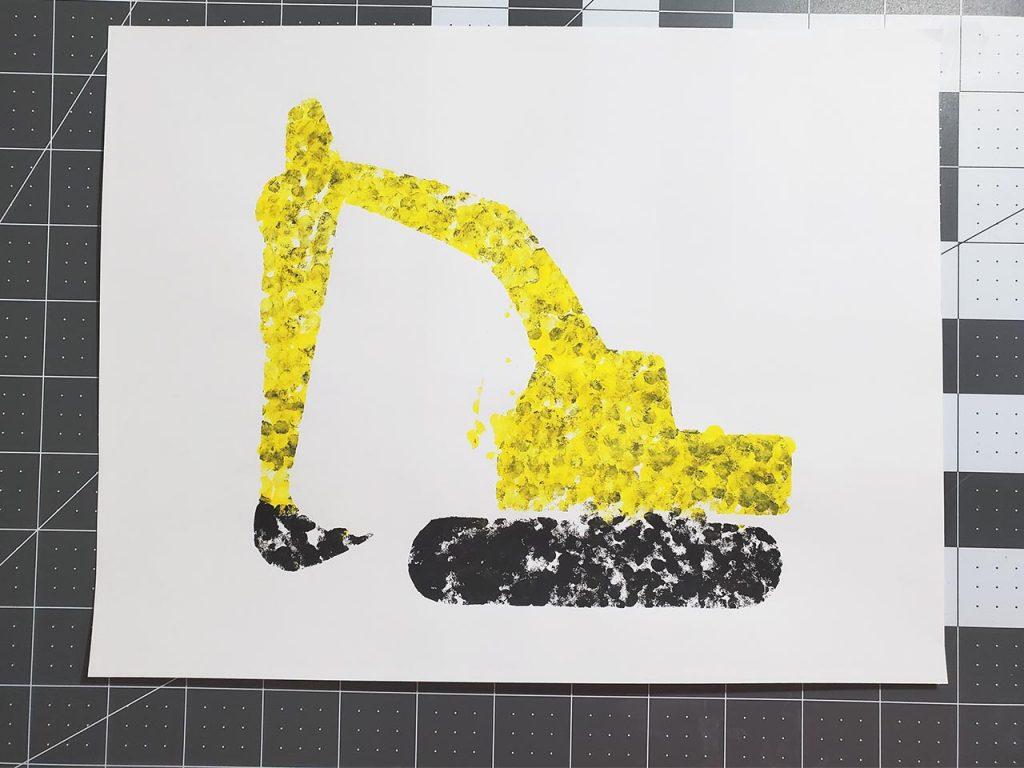
When the template is filled, or your toddler is done painting, remove the tape and the template and let it dry. Check out your masterpiece!
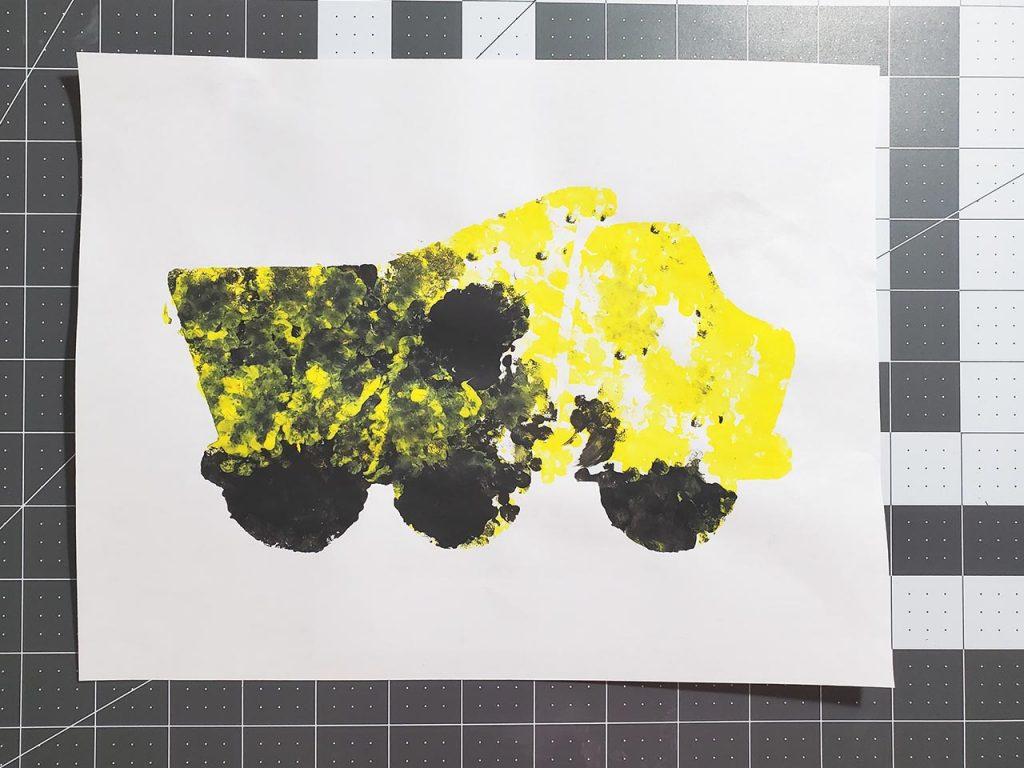
Check out these other ones we did! You can make cool gradient effects by dotting different colors in the same area like on the heart.

These are so cute!