Get creative with your kids with this fun yarn craft! It’s a great way to use up some of those yarn scraps. This craft is fun for any age (with help from an adult for the younger ones) and leaves a minimal mess. There are lots of fun shape templates to choose from, so there’s something for everyone, so let’s get crafting!
1. Gather your materials
First, gather your materials.
For this craft, you will need:
- Scissors or a hobby knife
- A printable shape template
- 2 sheets of construction paper
- Pencil
- Glue
- Paintbrush
- Yarn
2. Print your shape template
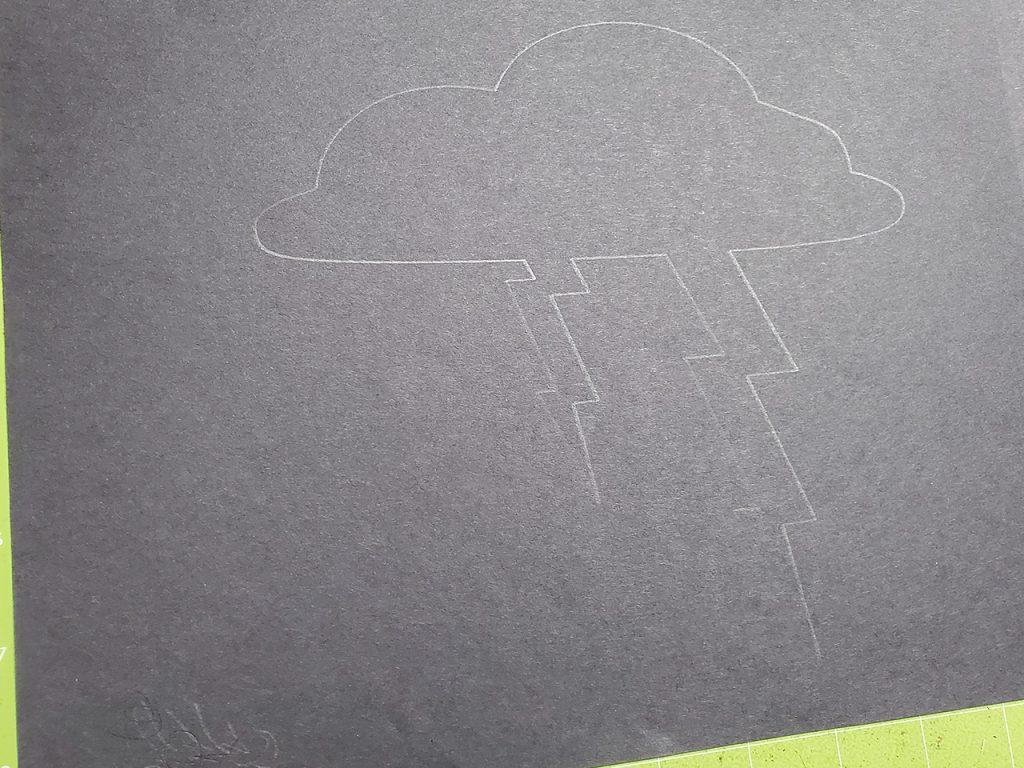
Print out your chosen shape template. Cut the shape around the black line. Center the shape on 1 sheet of construction paper and carefully trace around the shape.
Tip: If you don’t care to use fancy colored paper, print 2 sheets of your template onto copy paper and you can skip step 4.

3. Cut out your shape
Once you have your shape traced onto the construction paper, cut out the shape from the center of the paper using either scissors or a hobby knife. Do not cut from the outside edge. The shape should be removed from the center while leaving all sides intact.
4. Trace the shape onto another paper
Next, lay the paper with the cutout over your second paper and align the edges. Trace the cut shape onto the paper underneath. This will help you see where you need to glue on the yarn.

5. Cut yarn into strips
Now cut strips of yarn a few inches wider than the shape you need to cover. Narrower areas need smaller strips of yarn, wider areas need longer strips.

Use colors that go with the shape you chose, or mix it up and do rainbow colors. That’s the fun of this craft, it’s all up to you! Measure and cut enough yarn strips to cover the whole shape.

6. Spread some glue
Next, fill in the traced shape on your paper with glue and use a paintbrush to spread it around. Use enough glue to soak into the yarn a little and help it stick to the paper. Don’t forget to rinse the paintbrush so the glue will not dry in the brush before you need to use it again.

7. Press the strips of yarn into the glue
Once the glue fills the outline, start pressing the yarn into glue. For the best results press the yarn together as you go so all the gaps are filled.

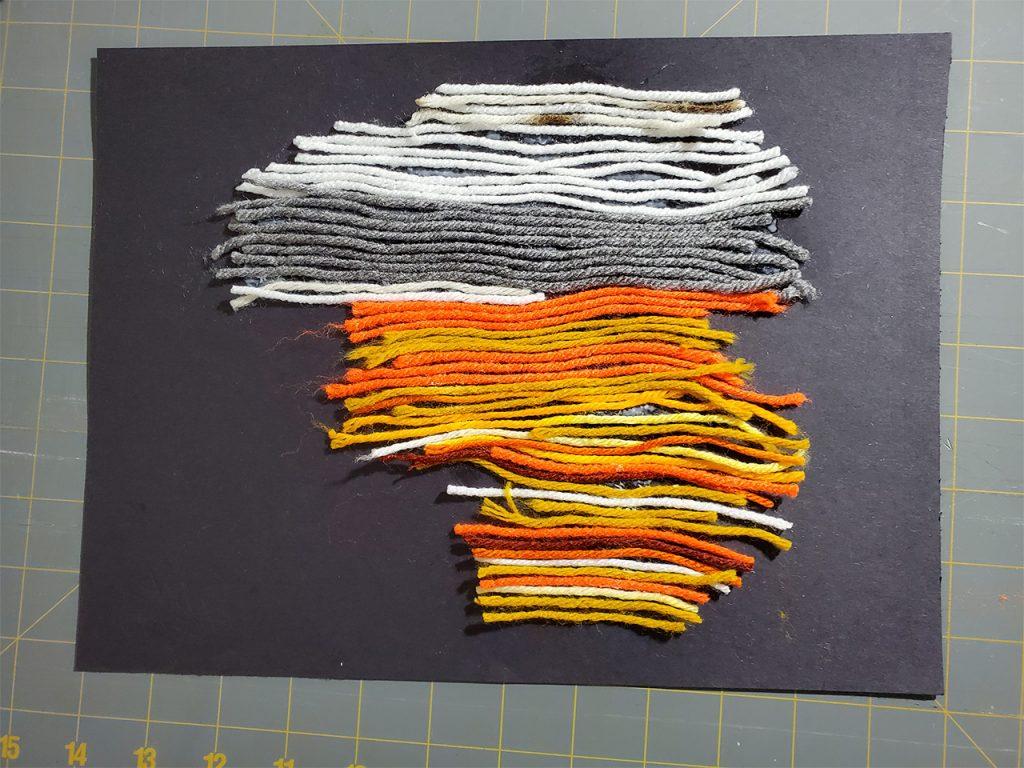
Use different colors on the different parts of the outline. We used white and gray for the stormcloud and different shades of orange for the lightning.
It almost looks like Africa! Hmmm, maybe I should add states, countries, and continents to the shape templates page…

8. Trim away excess yarn
When the shape is sufficiently filled with yarn, trim any yarn ends that seem too long. There needs to be enough paper exposed around the edges to glue on the paper with the shape cut out.
9. Glue down the shape template
Now take the paper with the shape cut out of the center and flip it over. Put glue on all the sides and edges and spread it around with the paintbrush. Rinse the glue out of the brush again.

Flip the paper over and line up the corners with the yarn paper. Press down on all the sides and along the edge of the shape to seal the papers together. Press down along the shape to help the glue stick to the yarn.
Tada! Your yarn craft is finished! Now stand back and admire your handiwork.


This looks like such a fun craft! I have so much yarn in my closet, and this will be a great way to use some of it! 🙂
Wow! This is an amazing post!
I think I found an amazing way to use the yarns that have been in my closet for years. It’s a great way to get creative with my kids. Thanks for sharing.